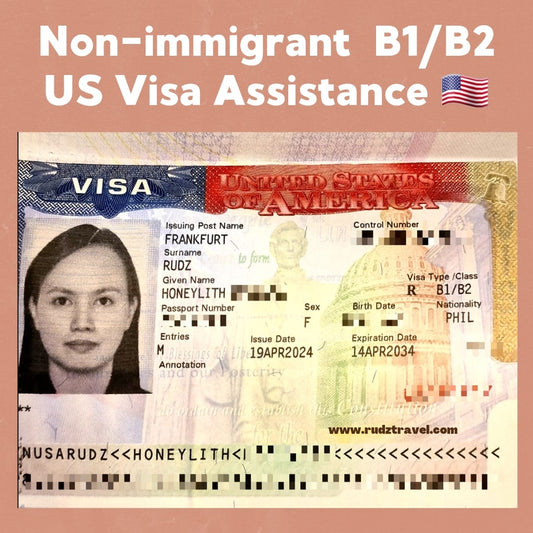
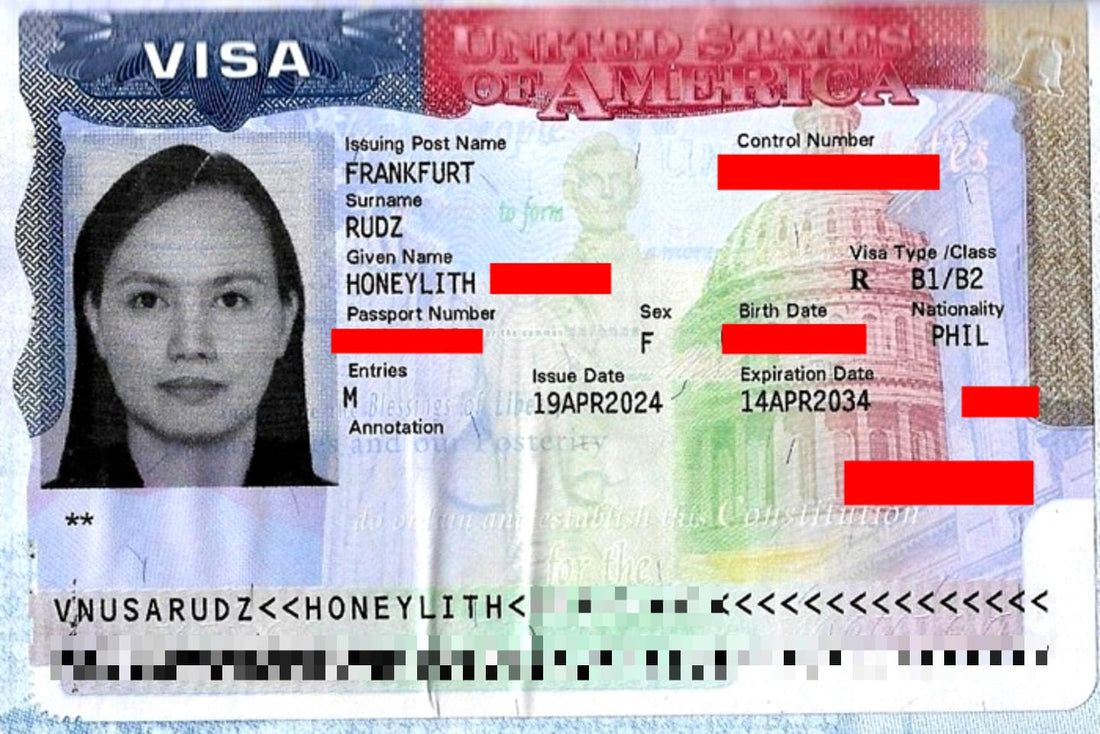
HOW TO APPLY FOR USA TOURIST VISA (B1/B2) IN GERMANY
Applying for a U.S. Tourist Visa in Germany
If you are not an EU citizen or not eligible under the U.S. Visa Waiver Program, you will need a visa to enter the United States, even if you already have a residence permit here in Germany.
Based on my own experience, applying for a U.S. non-immigrant visa in Germany was a smooth and straightforward process.
You can apply for a U.S. visa at the U.S. Embassy in Berlin, or the Consulates in Frankfurt and Munich. I personally applied and had my interview at the U.S. Consulate in Frankfurt since I live in Cologne (Köln).
Visa Navigators
U.S. Consulate General Frankfurt
The link will redirect you to the U.S. Visa Navigator, just follow the instructions provided there.
Before you start, I highly recommend checking the official website of the U.S. Embassy in Germany for the latest updates and any possible changes to the visa process. You can find it here.
U.S. Business/Tourist visa
The B-1/B-2 visitor visa is for people traveling to the United States temporarily, either for business (B-1) or for tourism and medical treatment (B-2).
- The B-1 visa is for business purposes, such as meeting with business partners, attending conferences or conventions, negotiating contracts, or handling an estate.
- The B-2 visa is for leisure or personal travel, including tourism, visiting friends or relatives, getting medical treatment, or taking part in social or community activities.
Most of the time, the B-1 and B-2 visas are combined into a single visa called B-1/B-2.

Qualifications for a B-1/B-2 Visa
When applying for a B-1/B-2 visa, you need to show the consular officer that you qualify under U.S. immigration law. By default, every applicant is assumed to be an intending immigrant under Section 214(b) of the U.S. Immigration and Nationality Act (INA). You must prove otherwise by showing:
- Your trip to the U.S. is temporary, for business, tourism, or medical treatment.
- You plan to stay only for a limited period.
- You have enough funds to cover your expenses while in the U.S.
- You have a residence outside the U.S. and other strong social or economic ties that ensure you will return home after your visit.
Step-by-Step Guide Based on My Experience
Step 1. Fill Out the DS-160 form

Step 2. Register, Pay and Schedule an appointment
You will need to register on the visa appointment here, pay the application fee (currently $185 USD), and choose where you want your passport delivered after the process.
- Premium passport delivery costs around €27.85 (fees may change).
Step 3. Attend your scheduled appointment
Bring the following required documents with you:
- DS-160 confirmation page with barcode
- Passport (valid for at least six months beyond your intended stay in the U.S.)
- One 2x2-inch (51x51 mm) photo taken within the last six months that meets U.S. photo requirements months.
Supporting Documents
You should bring the following documents to your interview. Original documents are preferred over photocopies, and you must bring them with you,do not fax, email, or mail them to the U.S. Embassy or Consulate.
- Proof of income, tax payments, property or business ownership, or other assets
- Your travel itinerary or an explanation of your planned trip
- A letter from your employer stating your position, salary, how long you’ve worked there, any approved vacation, and the purpose of your U.S. trip (if applicable)
- Criminal or court records for any arrest or conviction, even if your sentence is complete or you were pardoned
Additional documents depending on your situation:
Students:
- Latest school results, transcripts, and degrees/diplomas
- Evidence of financial support, such as bank statements or fixed deposit slips
Working adults:
- Certificate of Employment from your employer
- Pay slips from the last three months
Business owners or company directors:
- Proof of Business Registration
- Proof of your position in the company and your remuneration
Visiting a relative:
- Copies of your relative's proof of status in the U.S. (e.g., Green Card, naturalization certificate, valid visa)
Previous U.S. visitors:
- Any documents showing your prior U.S. visa or immigration status
Note: From my personal experience, the officer only asked for my passport and DS-160 confirmation page.
Step 4. Wait for Your Passport Delivery
If your visa is approved (they will inform you right after your interview), you will need to wait for your passport to be released.
When booking your appointment (Step 2), you will also choose how your passport will be delivered. In my case, I paid for premium delivery in advance, this must be paid even before you know the result of your application in order to proceed with the process (but process may change).
My Interview Questions & Answers:
1. Why do you want to travel to the US?
2. How long will you stay in the US?
3. What does your husband do?
4. And you, what do you do?
5. What for business?
6. Will your husband also be traveling with a Philippine passport?
7. Is this your first time to the US?
The best moment was when I heard, "Your visa is approved!" 🙌☺️
IMPORTANT TIPS FOR THE INTERVIEW
- Feeling nervous during the interview is normal, but try to stay calm and focused to avoid mental blocks.
- If you feel confused by a question, take a few seconds to think before answering. You don’t need to answer quickly, what matters is that you answer correctly and clearly.
- Keep your answers short and straightforward.
- Be honest and confident.
- Dress appropriately. If you are applying for a tourist or visit visa, present yourself as a traveler, not as if you're applying for a job. There's no strict dress code, just wear something neat and comfortable.
- Stay positive regardless of the result.